Background

Saturday, November 26, 2011

Ribbon Tree

I thought I would try making a ribbon tree since my paper trees turned out pretty well. This was quite labor intensive because I picked smaller ribbon and decided to evenly place my ribbon in rows instead of more abstractly as I've seen other crafters do. For the star, I heat embossed a chipboard star with red glitter embossing powder. Then I wrapped wire around the star and heat embossed it again to cover the wire with red glitter.

If you like this tree, I will be selling it and some of my other Christmas crafts tomorrow at the M.O.B. Craft Fair and Trade Show at the Fish Creek Library from 1-4pm.

Thursday, November 24, 2011

DRCC Session 1 Class #5


This week we will be creating our own background page by random stamping. We will also be exploring a different kind of journaling using strips of paper. I also added some embellishments using the new wooden buttons.

Friday, November 18, 2011

Craft Fair Projects

I'll be at the Varsity Community Centre Craft Fair tomorrow, November 20 from 10am until 3:30pm.

I will also be at the Fish Creek Library, 3rd floor, November 27 from 1-4pm for the Mothers Opposed to Boredom Christmas Trade and Craft Fair.

These are the crafts I made to sell this year. If you like something that you see and are not able to make it to the fairs, please email me.

Take Out Boxes with goodies inside

Paper Christmas Trees

Pillow Box Gift Card Holders

Wall Hangings

Wall Hanging

Wall Hangings

Wall Hangings

Wall Hangings

Snowman Poop - Front view
Snowman Poop - Back view

Wednesday, November 16, 2011

DRCC Session 1 Class #4


I used the new Roxie paper pack from CTMH for this layout. I love the contrast of the feminine pink rose paper with the pink and black plaid. I used all parts of the paper for this layout, including the zip strips as the scalloped border.


I'll be teaching how to emboss at the next class for the title here. I just used black embossing powder and stamped the title on with Versamark ink. I also embossed the "too cute!" sentiment onto the chipboard flower.


We will also be getting a chance to add some bling to the page with the new Bling buttons and as an extra sparkle, I placed the mini sparkles on top of a few of the paper gems on the zip strips. 

Thursday, November 10, 2011

DRCC Session 1 Class #3


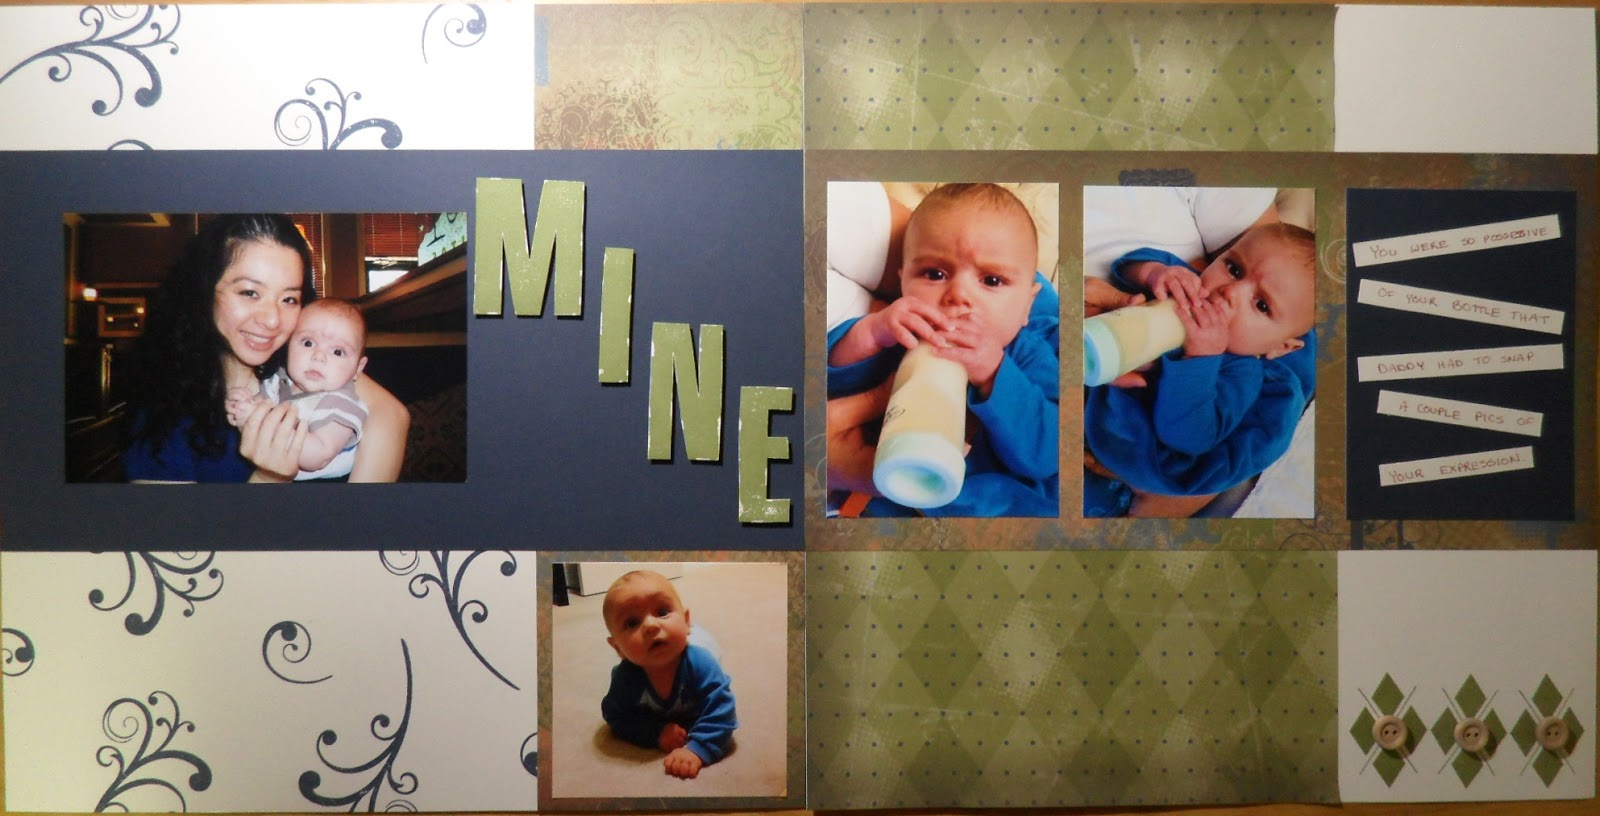
For this layout, I used 4-4x4 photo's and 1-8x10 photo. If you don't have an 8x10 photo you would like to use, 4-4x5 pictures can also be bunched together in that area. Color photo's are fine as well. We'll also be focusing on inking at the next class and by that, I mean edging paper and photos in ink to give them definition. I'll also be demonstrating a neat trick on how to cut your ribbon so that your knot is placed exactly where you want it.

We'll also be using some a few embellishments, a rub-on, brads, photo clips and the new Foundry Pin Clips pictured here.


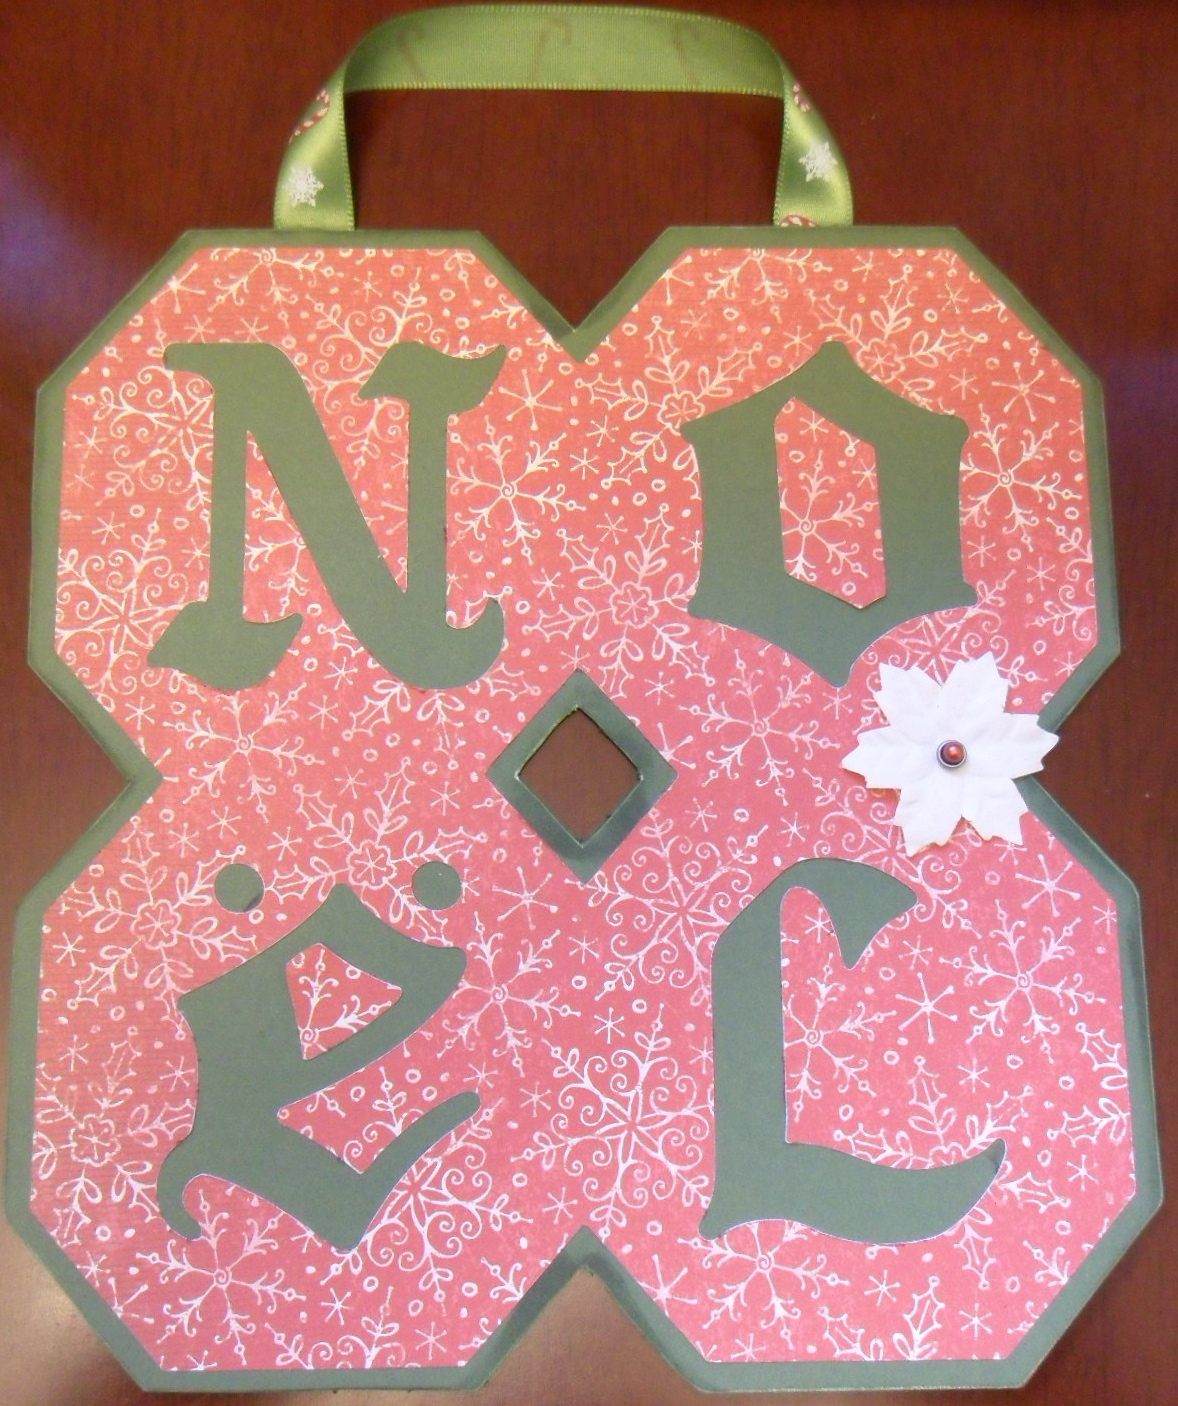
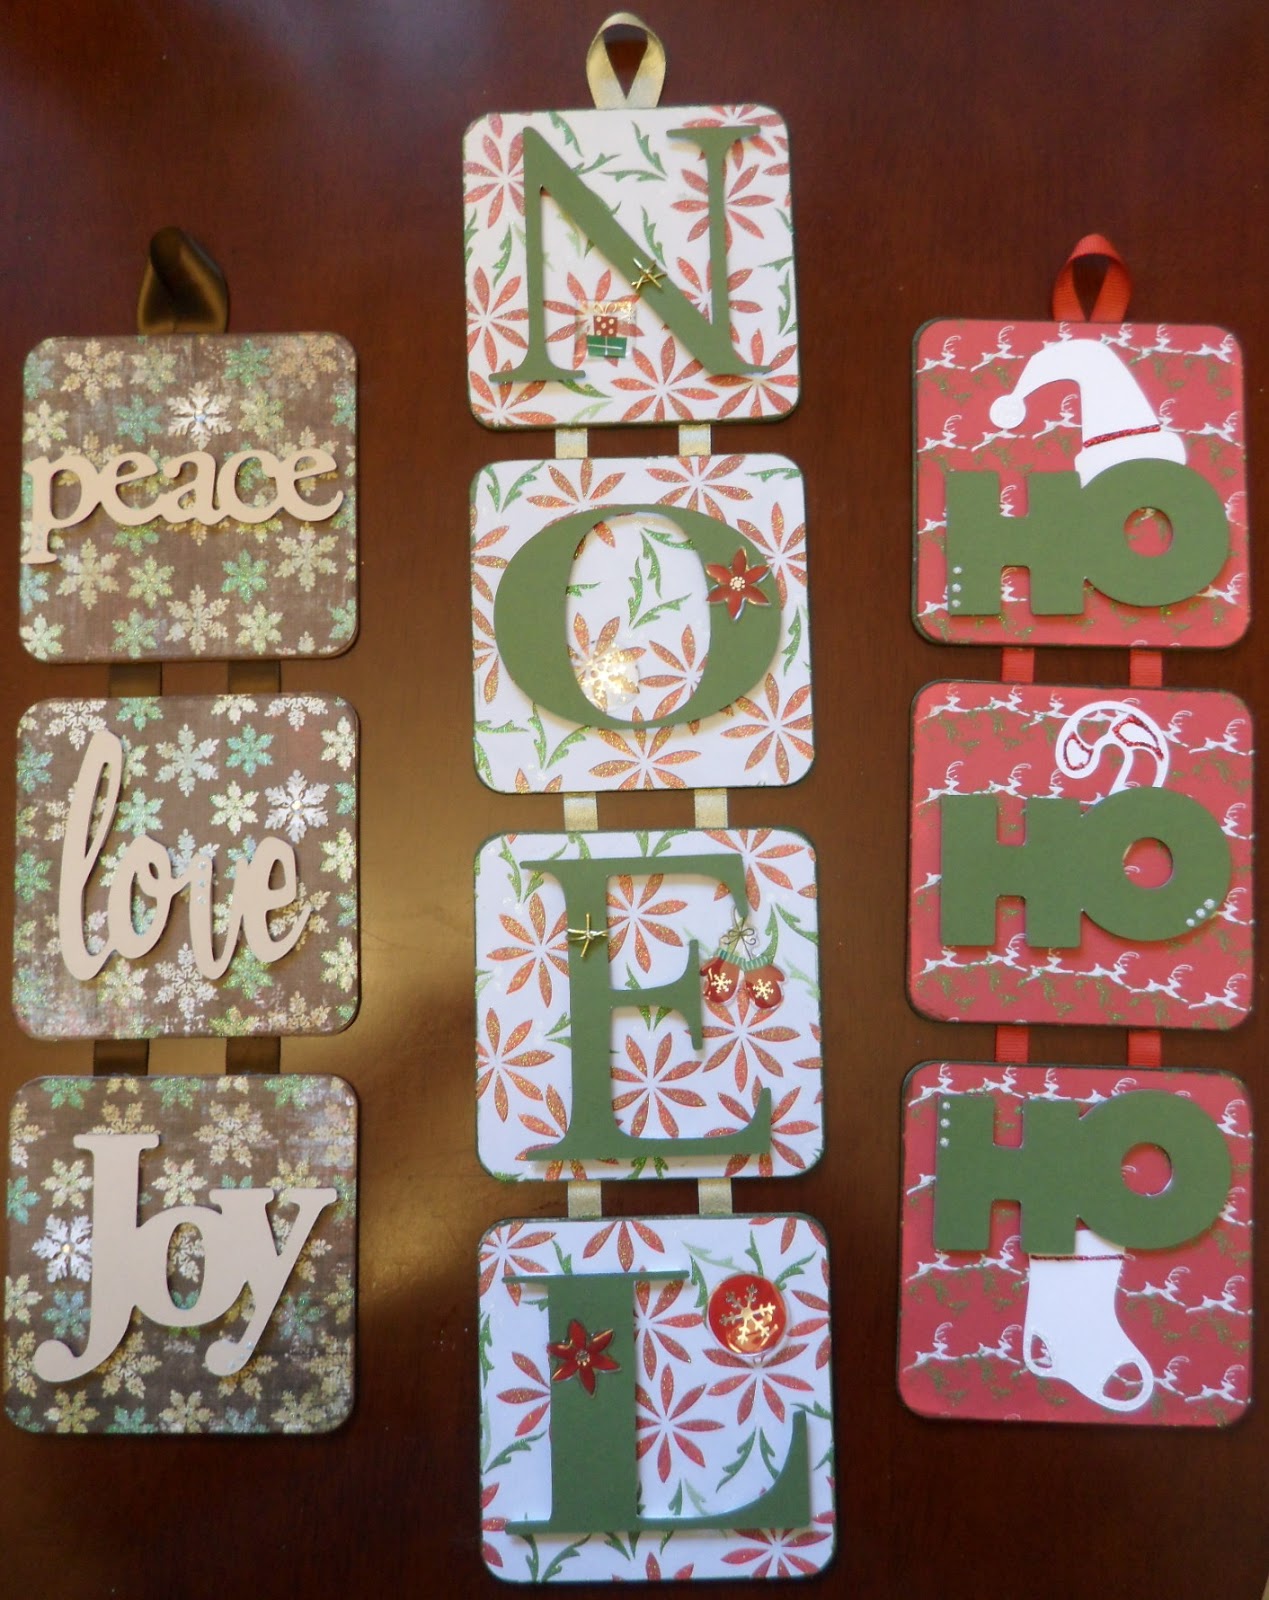
For my students, if you would like a deep purple or a dark green in place of the brown cardstock, please email me by Monday for when I prep the class. Start thinking about title's too! See you on Tuesday!

Please email me as well if you would like more information on my classes. 

Wednesday, November 2, 2011

DRCC Session 1 Class #2


The theme of Class #2 is flow across 2 pages. You'll see that the leaves are placed across the layout as if the wind has blown them and it brings your eyes from the left to the right. We'll also be using Stickles (glitter glue), rhinestones and 3D foam tape. For the more adventurous students, I'll also be demonstrating 2nd generation stamping.

I'm using the Dreamin paper from CTMH and I've maximized the paper used as I've incorporated the border strip that is now on the new Background and Textured paper from CTMH.

This layout could also be changed up to become spring or summer themed taking advantage of the dandelion shapes in the brown paper.